This article may contain affiliate links. If you buy through them we may earn a commission at no extra cost to you.
Attach the bowl with a quarter-turn clockwise, choose the correct attachment for your task, and always start at speed 1 before increasing. That’s the short version. The details—which attachment, which speed, how long, and what to watch for—are what separate a flat cake from a perfect one.
Assemble and Secure Your Stand Mixer

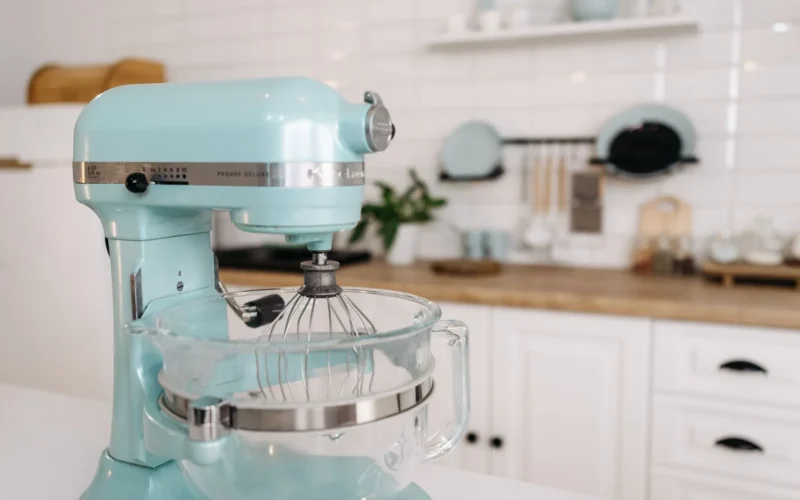
Place the mixer on a flat countertop at least six inches from the edge. On most KitchenAid and similar tilt-head models, the bowl locks with a quarter-turn clockwise. Once it’s seated, try to wiggle it—if it moves, you haven’t locked it fully. A loose bowl can slip mid-mix and crack, splatter, or damage the attachment hub.
Attach the bowl properly
Bowl-lift models (common on 6-quart and larger machines) have a lever on the side that raises the bowl into the mixing position. Lower it before attaching, then lift it until it clicks. Tilt-head models lock the bowl from below. Either way, the test is the same: locked bowls don’t wiggle.
Check the splash guard
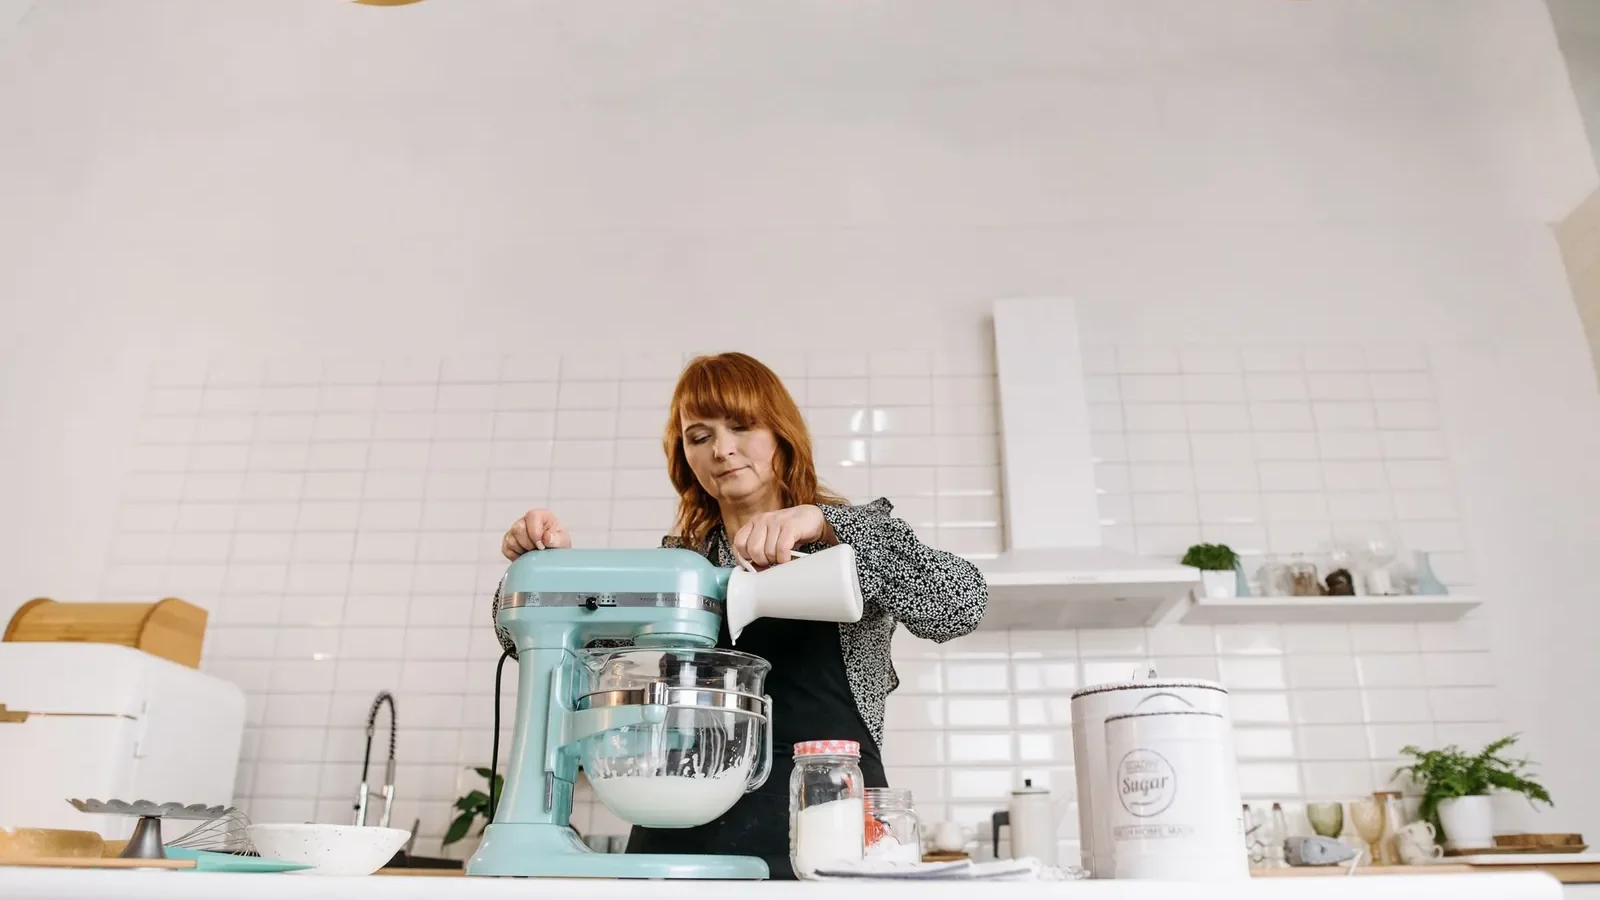
Clip the splash guard or pouring shield onto the bowl rim before you start. At speed 2 and above, flour and liquid can escape the bowl. The guard also lets you stream in oil or milk mid-mix without stopping the machine.
Choose the Right Attachment for Your Task
Every stand mixer ships with three attachments. Using the wrong one produces the wrong texture—and no amount of extra mixing time fixes it.
Flat beater (paddle)
Your default tool. Use it for creaming butter and sugar, mixing cake and cookie batters, mashed potatoes, and meatloaf. The paddle folds ingredients together without trapping much air, which is exactly what you want for dense, tender crumb. If a recipe doesn’t specify an attachment, use this one.
Dough hook
The spiral or C-shaped hook stretches and folds bread, pizza, and pasta dough the same way hand-kneading does—just faster. Hand-kneading a basic white bread dough takes 10–12 minutes; the hook does it in 5–8 minutes on speed 2. Don’t use it for cake batter or cookie dough; it overworks gluten and toughens the result.
Wire whip
The whip’s thin wires beat air into eggs, cream, and egg whites. Use it for whipped cream, meringue, mousse, and chiffon or angel food cake batter. It’s the only attachment that can take heavy cream to stiff peaks—the paddle can’t do it efficiently, and the hook can’t do it at all.
To mount any attachment: align the pin with the notch inside the mixer head, push up firmly, and turn until it clicks into the locking position.
Understand Speed Settings and When to Use Them
Most stand mixers have 8–10 speeds. The right speed isn’t about going faster—it’s about controlling how much air you incorporate and how hard the attachment works the ingredients.
Speed 1–2 (Stir to Slow Mix)
Start every recipe here. Speed 1 prevents flour from exploding out of the bowl in the first 30 seconds. Speed 2 is the correct setting for the entire kneading phase of bread dough—running the dough hook faster than speed 2 strains the motor and doesn’t improve the dough.
Speed 3–4 (Medium Mix)
Cream butter and sugar on speed 4 for 2–3 minutes until the mixture turns pale and increases in volume by roughly 50%. Once all cake batter ingredients are combined, mix on speed 3 only until streaks disappear—usually 10–15 seconds. Going higher at this stage overdevelops gluten.
Speed 6–8 (High Mix to Whip)
Reserve these speeds for whipping cream and egg whites. Start on speed 6 for the first 30 seconds to stabilize the mixture, then increase to 8 once soft peaks begin to form. Starting on high immediately splatters cream across the bowl and mixer head.
Always start at speed 1 or 2, then increase gradually; starting high wastes ingredients and damages your mixer.
Mix Ingredients in the Right Order
For cake and cookie batters
- Cream softened butter and sugar on speed 4 for 2–3 minutes until pale and fluffy.
- Add eggs one at a time on speed 2, mixing about 20 seconds between each.
- Add vanilla or other flavorings on speed 1.
- Whisk dry ingredients (flour, baking powder, salt) together in a separate bowl first.
- Add dry ingredients to wet on speed 1, mixing just until the last dry streak disappears—5 to 10 seconds. Stop here. Overmixing from this point builds gluten and toughens the crumb.
- Fold in chocolate chips or nuts by hand, or use speed 1 for 5 seconds maximum.
For bread and pizza dough
- Add liquid first, then dry ingredients on top—this prevents dry pockets at the bottom of the bowl.
- Mix on speed 1 for 30 seconds to bring the dough together.
- Increase to speed 2 and knead for 5–8 minutes. The dough is ready when it pulls away from the bowl sides and forms a smooth ball.
- If dough is too sticky, add flour 1 tablespoon at a time on speed 1. If too dry, add water 1 teaspoon at a time. Make one adjustment, wait 30 seconds, and assess before adding more.
Monitor Mixing Time and Texture

A stand mixer moves faster than your hands do, which means it also overmixes faster. When you’re running a recipe for the first time, stop the machine every 30 seconds to check progress rather than trusting a timer alone.
Creamed butter and sugar
After 2–3 minutes on speed 4, the mixture should look pale (almost white), feel light, and have grown noticeably in volume. If it’s still yellow and dense at the 3-minute mark, your butter was too cold—below 65°F, butter doesn’t cream properly. Let it sit at room temperature for 30–45 minutes next time.
Cake batter
Stop the moment dry streaks disappear. A few flour specks are fine—they’ll hydrate as the batter rests. Continuing past this point for even 15–20 extra seconds on speed 3 can noticeably toughen the finished cake.
Dough
A properly kneaded dough feels smooth and slightly tacky—like a dry Post-it note—not sticky or shaggy. Poke it: the indent should spring back slowly over 2–3 seconds. If it springs back instantly, keep kneading. If it doesn’t spring back at all, the dough is overworked.
Whipped cream
Soft peaks form in 2–3 minutes on speed 6–8. Stiff peaks take 3–4 minutes total. Thirty seconds past stiff peaks and you have grainy, separated butter. Don’t walk away during this stage.
Troubleshoot Common Problems
Batter is splashing or leaking
The bowl isn’t fully locked, or the speed is too high for the volume of batter. Stop the mixer, relock the bowl with a firm quarter-turn, attach the splash guard, and drop back to speed 2 or 3.
Dough isn’t coming together
Add liquid 1 teaspoon at a time on speed 1, waiting 30 seconds between additions. If the motor sounds strained and the dough isn’t moving, the dough is too dry or the batch is too large for your bowl size—most 5-quart bowls max out at about 8 cups of flour.
Mixer is making a grinding noise
Stop and unplug immediately. A grinding sound usually means the attachment isn’t fully seated or the bowl has shifted. Recheck both before restarting on speed 1.
Whipped cream turned to butter
There’s no fix—start over with fresh cold cream. Cream whips best when it’s between 35°F and 40°F; warm cream takes longer and is more likely to break. Chill your bowl in the freezer for 10 minutes before whipping.
Clean and Maintain Your Stand Mixer
After each use
Unplug first. Remove the bowl and attachments and wash them in warm soapy water or the dishwasher—most are dishwasher-safe, but check your manual, since some coated attachments aren’t. Wipe the mixer head and base with a damp cloth. Never submerge the motor housing.
Monthly maintenance
Check that the tilt-head hinge or bowl-lift arm moves smoothly. If it’s stiff, one small drop of food-grade mineral oil on the hinge resolves it. Inspect the power cord for nicks or fraying. Clear any dried batter from the attachment socket with a toothpick—buildup there prevents attachments from clicking in fully.
Storage
Store attachments in the mixer’s built-in compartment or a labeled zip bag. Keep the bowl covered or inverted to prevent dust. Leave the mixer on the counter if you use it weekly—repeated lifting in and out of a cabinet is how bowls get chipped and cords get pinched.
Frequently asked questions
Can I use a stand mixer to make whipped cream and bread dough in the same session?
Yes. Wash the bowl and whip attachment between tasks, or use a second bowl if your mixer includes one. Cream residue left in the bowl will deflate egg whites or whipped cream, so cleanliness matters.
How long should I knead dough in a stand mixer?
Most bread doughs need 5–8 minutes on speed 2 with the dough hook. The dough should form a smooth, slightly tacky ball and pull away from the bowl sides. Recipes vary, so check your specific instructions. You can also do the poke test: poke the dough; if the indent springs back slowly, it’s ready.
Is it okay to leave my stand mixer running unattended?
No. Always stay nearby, especially when whipping cream or egg whites, which can go from perfect to overbeaten in seconds. For dough kneading, you can step away briefly (under 2 minutes), but check on it regularly. Never leave a running mixer unattended with children or pets nearby.
What’s the difference between a stand mixer and a hand mixer?
A stand mixer holds the bowl and does the work with both hands free; a hand mixer requires you to hold and move it. Stand mixers are better for heavy doughs and large batches; hand mixers are compact and cheaper. See our full comparison at Stand Mixer vs Hand Mixer: Which to Buy for detailed pros and cons.
Do I need to buy a stand mixer over $100?
Not necessarily. Budget models under $100 work well for occasional baking and simple recipes. High-end models offer more power, larger bowls, and extra attachments. If you bake weekly or work with heavy doughs regularly, spending more is worth it. Check out Best Budget Stand Mixer Under $100 to see solid entry-level options.

Priya covers deals and buying timing, and keeps a spreadsheet of price histories she is slightly embarrassed by.